How to make my own scrunchies
Sew soft fabric scrunchies from scraps in about 20 minutes each, by machine or by hand, in silk, cotton or velvet.
- Time
- 30 min
- Difficulty
- easy
- Makes
- 1 scrunchie
- Steps
- 9 steps
Updated Oct 16, 2026
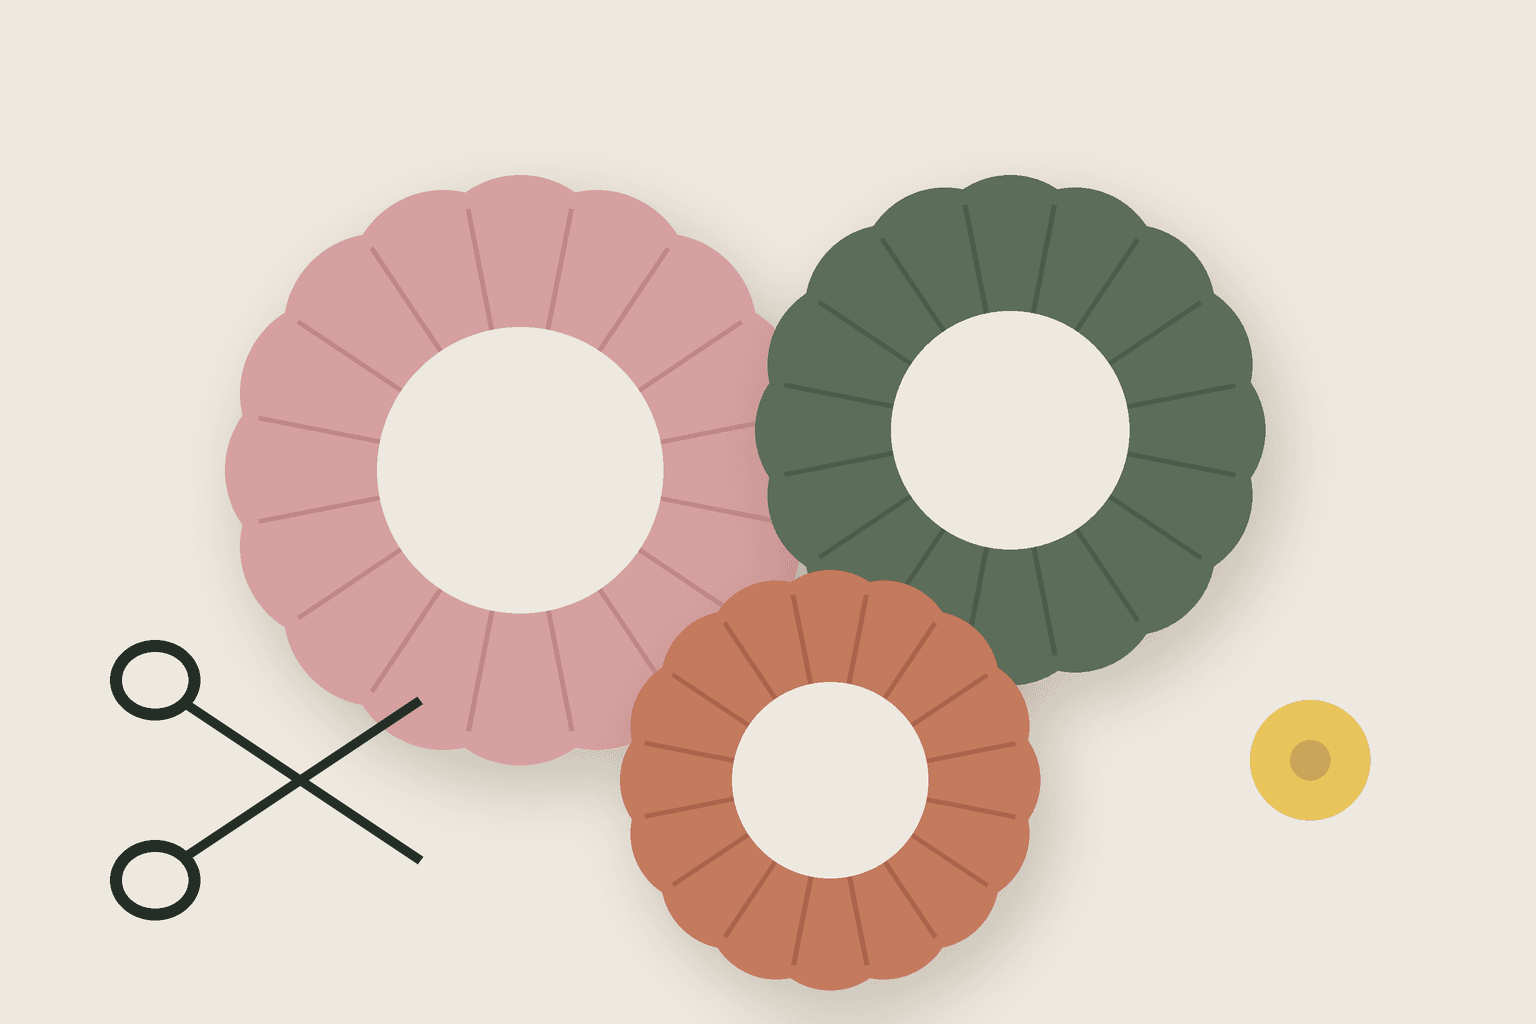
A scrunchie is a tube of fabric gathered up on a loop of elastic. It is one of the best first sewing projects: one straight seam, no pattern, and a strip of fabric small enough to cut from an old shirt, a scarf or a fabric remnant. Your first one takes about half an hour. After that you can make one in fifteen minutes.
A sewing machine is quickest, but you can sew one completely by hand with a needle and thread. Silk or satin scrunchies are popular because they are gentler on hair and cause less kinking than a tight plain band.
What you need
Step by step
- 01
Wash and iron the fabric first if it is new, so it does not shrink after you sew it. Measure and cut a rectangle 10 x 56 cm (4 x 22 inches). For a fuller scrunchie, cut it 12 x 66 cm (about 5 x 26 inches) instead; the elastic stays the same length.
- 02
If your fabric frays easily, like satin or chiffon, run a zigzag stitch along the two short ends, or trim them with pinking shears. This stops the loose ends from unravelling inside the scrunchie.
- 03
Fold the rectangle in half along its length, with the right sides (the patterned or shiny sides) facing each other, so you have a long, narrow strip 5 cm (2 inches) wide. Pin or clip the long open edge every 10 cm (4 inches).
- 04
Sew along the long edge, 1 cm (3/8 inch) from the raw edge, from one end to the other. On a machine, use a straight stitch and go back and forth for a few stitches at the start and end to lock them. By hand, use a small backstitch. Leave both short ends open: you now have a tube.
- 05
Turn the tube right side out. Pin a large safety pin to one end, push it inside the tube, and work it through to the other end by bunching the fabric up over it and pulling the fabric back behind it. Press the tube flat with the iron, rolling the seam to one edge.
- 06
Pin a small safety pin to one end of the elastic and use it to thread the elastic all the way through the tube. Before you start, pin the trailing end of the elastic to the outside of the fabric at the entrance so it cannot disappear inside.
- 07
Pull both ends of the elastic out of the tube. Check the elastic is not twisted by running your finger along it inside the fabric. Overlap the two ends by about 1.5 cm (just over half an inch) and sew them together firmly, back and forth a few times by machine, or with tight overhand stitches by hand. Let the elastic slip back inside.
- 08
Close the gap. Fold the raw edge of one end of the tube inside itself by about 1 cm (3/8 inch). Tuck the other end inside this folded end by about 1 cm, so it is hidden. Pin it, then sew across with a neat line of topstitching, or close it invisibly by hand with small slip stitches.
- 09
Spread the gathers evenly around the elastic, so the fabric bunches up all the way round and the seam is hidden. Stretch it over your wrist a few times to check the elastic join holds and nothing feels tight.
Email me the checklist
Checklist email is coming soon — use Print / save PDF for now, or check the materials list above.
Notes
- Common failure: losing the end of the elastic inside the tube. Pinning the trailing end to the outside of the fabric before you start threading prevents it completely.
- If the scrunchie is too tight, cut the elastic a little longer next time, 22 to 23 cm (about 9 inches). If it is too loose, 18 cm (7 inches) gives a firmer grip for fine hair.
- Slippery fabrics like satin and silk are easier to sew if you use more pins and sew slowly. A fresh, fine needle also stops snags.
- One fat quarter of cotton (about 46 x 56 cm, or 18 x 22 inches) makes four scrunchies. Old silk scarves and shirts are a great free source.
- Wash scrunchies by hand or in a laundry bag on a gentle cycle, and let them air dry so the elastic lasts longer.
Questions people ask
Make something else
Craft
How to make my own
air dry clay trinket dish
Shape a small clay dish for rings and keys without a kiln, then paint and seal it so it lasts. Very little kit needed.
- Time
- 1 h
- Difficulty
- easy
- Makes
- 2 small dishes
Wellness
How to make my own
lip balm
Melt beeswax, shea butter and oil into smooth lip balm tubes in about half an hour, with the firmness and scent you choose.
- Time
- 35 min
- Difficulty
- easy
- Makes
- about 10 tubes
Craft
How to make my own
pressed flower bookmarks
Press real flowers flat in a book, then seal them onto card for bookmarks that keep their colour and don't shed petals.
- Time
- 45 min
- Difficulty
- easy
- Makes
- 4 to 6 bookmarks
Digital
How to make my own
qr code
Make a free QR code that never expires, prints crisply and scans first time on any phone, for a link, your Wi-Fi or a contact card.
- Time
- 20 min
- Difficulty
- easy
- Makes
- 1 QR code